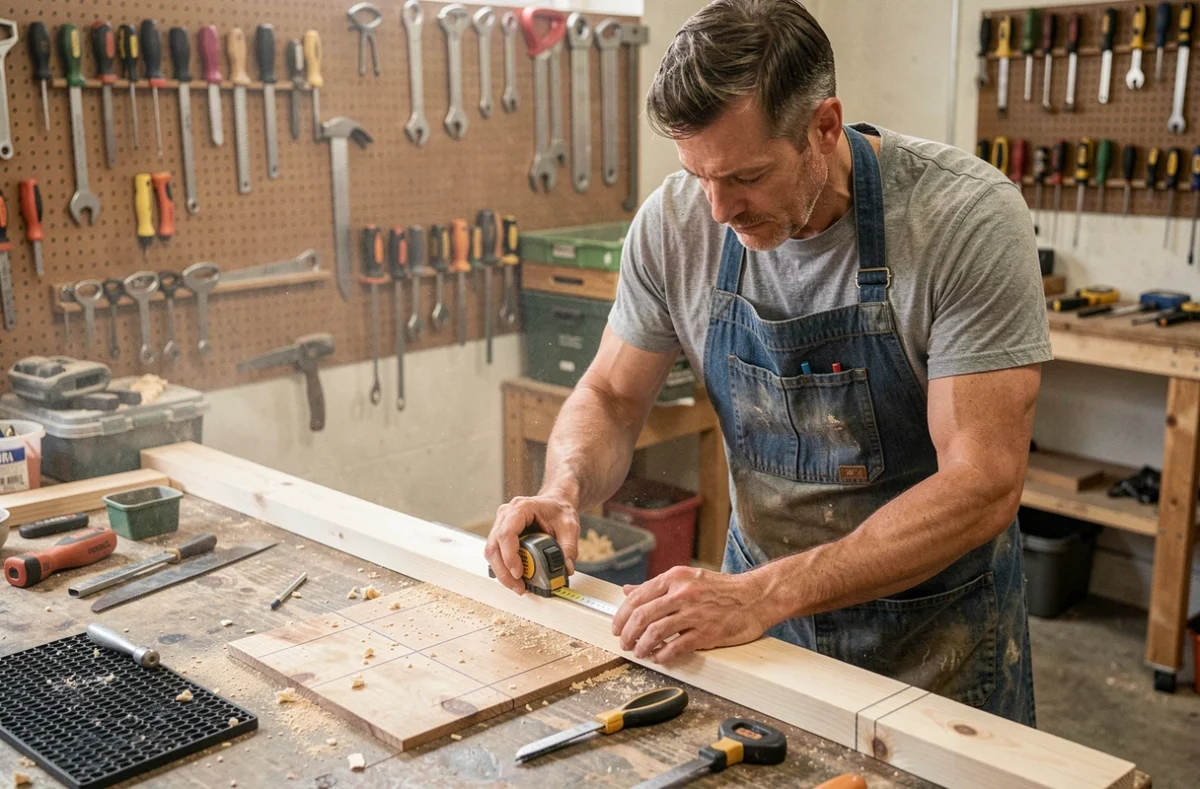
Successfully completing a DIY project depends less on manual talent than on the method adopted before, during, and after the work. Preparing the workspace, choosing fasteners, adhering to regulatory constraints in co-ownership or rental: every technical decision influences the final result and the time spent. Here are ten practical tips, listed in no particular order, that cover the less addressed aspects by usual guides.
1. Check the regulatory framework before drilling the first hole
In co-ownership, the boundary between private and common areas determines whether the project requires authorization. Repainting an interior wall remains free. Altering a load-bearing wall, a common duct, or the exterior appearance of the building may require a vote at the general assembly, or even a procedure at the town hall.
A tenant cannot consider every project as free DIY work either. Any transformation of the housing requires the written consent of the landlord. For certain energy renovation works, a specific procedure exists: the landlord’s silence for two months after a written request counts as acceptance.
Taking a few minutes to identify the legal nature of the project avoids costly disputes or mandatory restoration at the end of the lease. Resources like conseils-bricolage.fr can clarify these points before starting.
2. Test the fastener on a scrap piece before installing on the wall
Expansion plugs, Molly plugs, self-drilling screws: each substrate (drywall, hollow brick, concrete, wood) reacts differently. Drilling a scrap piece of the same material or a discreet corner allows validating the plug-screw combination without risking a visible pull-out.
This step takes less than five minutes and provides information on the suitable drill bit diameter, drilling depth, and the actual holding capacity of the fastener under load. On drywall, a properly sized Molly plug holds significantly more than a standard plastic plug, which can only be confirmed by a practical test.
3. Comply with electrical standards in partial renovations
In partial renovations, only the parts created or modified must comply with current requirements. The existing installation that is untouched does not automatically need to be brought up to new standards. This point prevents turning a simple addition of a socket into a general construction project.
Before intervening on a circuit, turning off the relevant circuit breaker and checking for the absence of voltage with a VAT (voltage absence tester) remains the only reliable precaution. A simple socket tester does not detect all grounding faults.

4. Use masking tape instead of a pencil for marking
A pencil leaves hard-to-remove marks on certain surfaces (raw plaster, light wood, textured plaster). Placing a strip of masking tape and marking on it solves the problem: the line remains visible throughout the operation, then disappears with the tape without sanding or cleaning.
This technique proves particularly useful for tile cuts or aligning frames on a painted wall. The tape serves both as a visual guide and as protection for the surface.
5. Anticipate waste sorting from the start
The REP PMCB (extended producer responsibility for construction products and materials) now organizes the collection and recovery of sorted construction waste. In practice, separating wood, plaster, metal, and rubble into distinct bags or bins from the beginning of the project simplifies disposal.
Mixing waste often leads to extra costs at the waste disposal site or a refusal to accept the deposit. Three containers are sufficient for most domestic projects:
- A bag for inert rubble (concrete, tiles, bricks)
- A bag for wood (treated or untreated, to be separated if required by the waste disposal site)
- A bag for plaster and drywall sheets, which cannot be recycled with regular rubble
6. Use a cardboard template before any final cuts
Cutting a cardboard template to scale 1:1 before tackling the final material (wood, melamine, metal) allows checking the fit on-site. This step eliminates most measurement errors related to non-right angles, common in older homes.
A wall that is rarely square skews any measurement taken with just a meter. The cardboard template adapts to irregularities and can be corrected with a cutter in seconds, whereas a failed cut in solid wood wastes material.
7. Prefer low-angle lighting to check finishes
In painting or plastering, surface defects (roller marks, bulges, bubbles) are not visible under frontal lighting. Placing a work lamp or a simple flashlight at a low angle, almost parallel to the wall, reveals all imperfections before the layer dries.
This technique, used by professional painters, also works for evaluating sanding or spotting a hollow tile joint. It costs nothing and transforms the quality of the final result.
8. Oil mechanisms before they squeak
Waiting for a hinge to squeak before intervening accelerates wear on the pivot. A drop of petroleum jelly or silicone lubricant applied once or twice a year on door hinges, drawer slides, and locks preserves their function and avoids replacement.
Preventive maintenance significantly reduces the number of urgent repairs. This habit takes less than a minute per item and also applies to tilt-and-turn windows, whose complex fittings do not tolerate dry friction well.
9. Store chemicals according to their safety data sheet
Solvents, strippers, glues, and paints follow precise storage rules. Chemical regulations require manufacturers to provide clear labels. Following these indications, especially regarding ventilation and distance from heat sources, reduces the risk of toxic emissions or fire.
- Keep products in their original packaging, never in a food container
- Store away from frost for water-based products (acrylic paint, ready-to-use plaster)
- Separate oxidizers from flammable solvents, even in a small space
10. Photograph each step before closing up
Before sealing a groove, installing a cladding, or re-screwing a machine cover, photographing the intermediate state creates free documentation. In case of subsequent failure or resale of the property, these photos show the exact routing of ducts, the position of reinforcements, or the model of installed parts.
A simple timestamped snapshot replaces hours of searching when needing to find a cable behind a partition two years later. Storing these images in a dedicated folder by room or date is sufficient.
Every DIY project involves technical and regulatory constraints that mere goodwill cannot compensate for. Checking the legal framework, testing fasteners, and anticipating waste sorting are the three most underestimated levers to avoid rework and extra costs.